What to Photograph Before and During Panel Installation
Six months after install, nobody remembers which conduit run hugged the downspout or whether the old vent stack was moved. Your phone can hold that memory if you shoot a short sequence from the yard while the ladders are still up.
Start With a Baseline Before Shingles Move
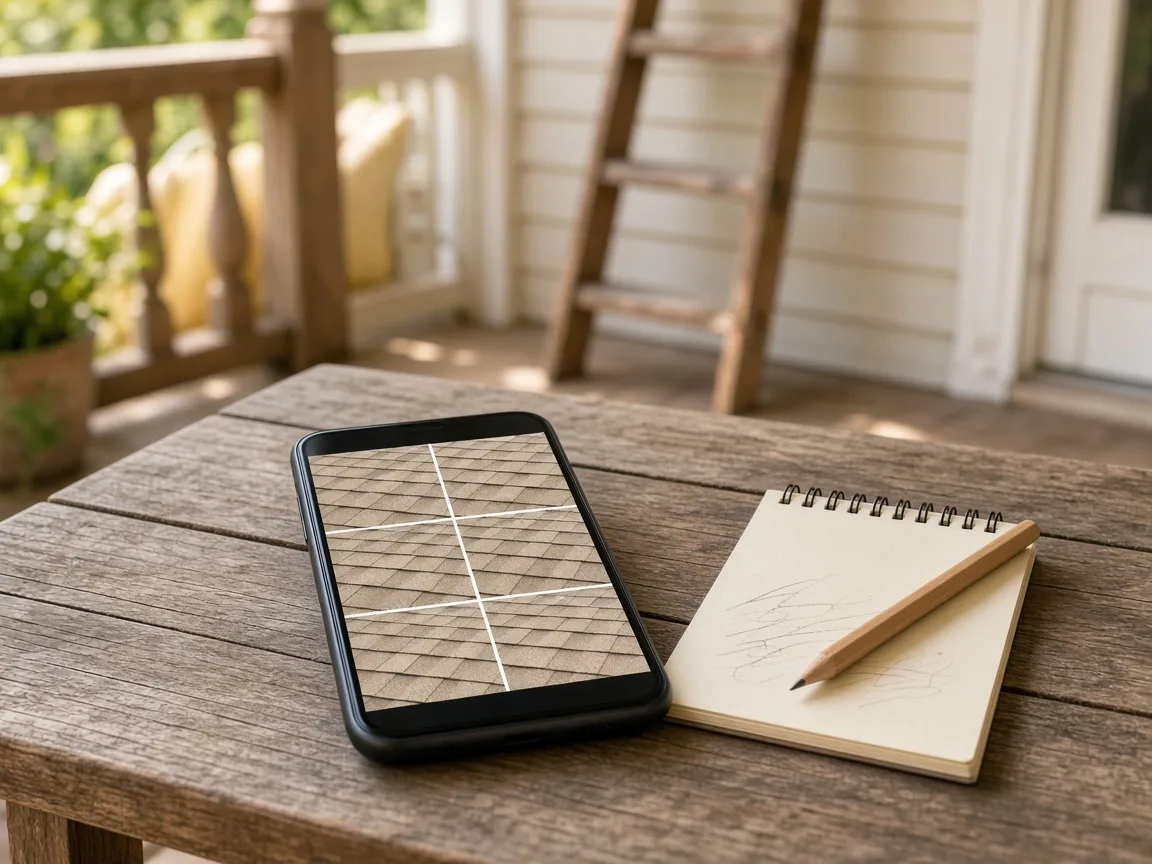
Walk the property line once with your camera at chest height. Capture each roof plane straight on, then one wide shot that shows the whole house. Include the driveway and any trees that cast shade. These before images feel redundant until a leak trace starts at a vent you forgot existed.
Turn on timestamp display in your camera app if available. If not, photograph a sheet of paper with the date written in marker on the porch step. Future you will trust the file more when the metadata is obvious.
Mid-Install Shots Worth Pausing For
The most useful photos happen when work is half done and you can still see what is underneath. You do not need to climb. A zoom from the lawn is enough for many details. Ask the foreman which hour the array will be open enough to shoot without slowing anyone down. Most crews prefer you capture mid-stage images early in the afternoon, before panels slide into final position.
- Flashing transitions: Where a new mount meets an existing chimney or wall joint, before caulk covers the seam.
- Conduit drops: The path from roof edge to inverter location while straps are visible.
- Decking patches: Any plywood replaced while the opening is still open to the sky.
- Label placement: Rapid shutdown stickers and arc-fault labels while they are within arm's reach of the crew, not after panels cover them.
Memory compresses a noisy week into a single sunny afternoon. Photos stretch it back out so you can see what changed and when.
Ground-Level Hardware You Should Not Skip
Homeowners focus on the array and ignore the wall. That is where warranty calls stall. From a safe distance, photograph the inverter nameplate, disconnect switch, and any new meter tags. Include the garage interior wall if conduit runs through it.
- Wide shot of the equipment wall with the door open for scale.
- Close-up of each serial sticker while text is legible.
- Final routing along the exterior where conduit meets the ground.
Blurry serial numbers are almost as useless as none at all. Tap to focus, brace against a post, and shoot twice.
How to Store Files So They Survive
A camera roll mixed with pet videos buries install week fast. Create one album the day the crew arrives and move every shot there before dinner. Back it up to cloud storage you already use, not a mystery account you will abandon. If your phone warns about storage space, offload older clips first rather than skipping mid-install shots because the disk is full.
Name files plainly: front-roof-mid-install, conduit-east-wall, inverter-label. Avoid clever titles you will not search for later. Share the album link with a household member so one lost phone does not erase the only record. A printed contact sheet is optional, but a single PDF export once a month helps anyone reviewing records later without waiting while you scroll.
Photo logs do not replace permits or official inspection reports. They give you a visual timeline when someone asks whether a detail was always there. That is a small effort on a busy week, and it helps the first time a routing question lands in your inbox long after the trucks are gone.